Padlet has been in my list of top collaboration tools for nearly a decade. I started using it with my students back when it was still known as Wallwisher. There are many ways to use Padlet from simply providing a place to share text notes to using it as a place to collect video samples from students. Late last week Padlet added another way that teachers and students can use Padlet. That way is to collaboratively create maps.
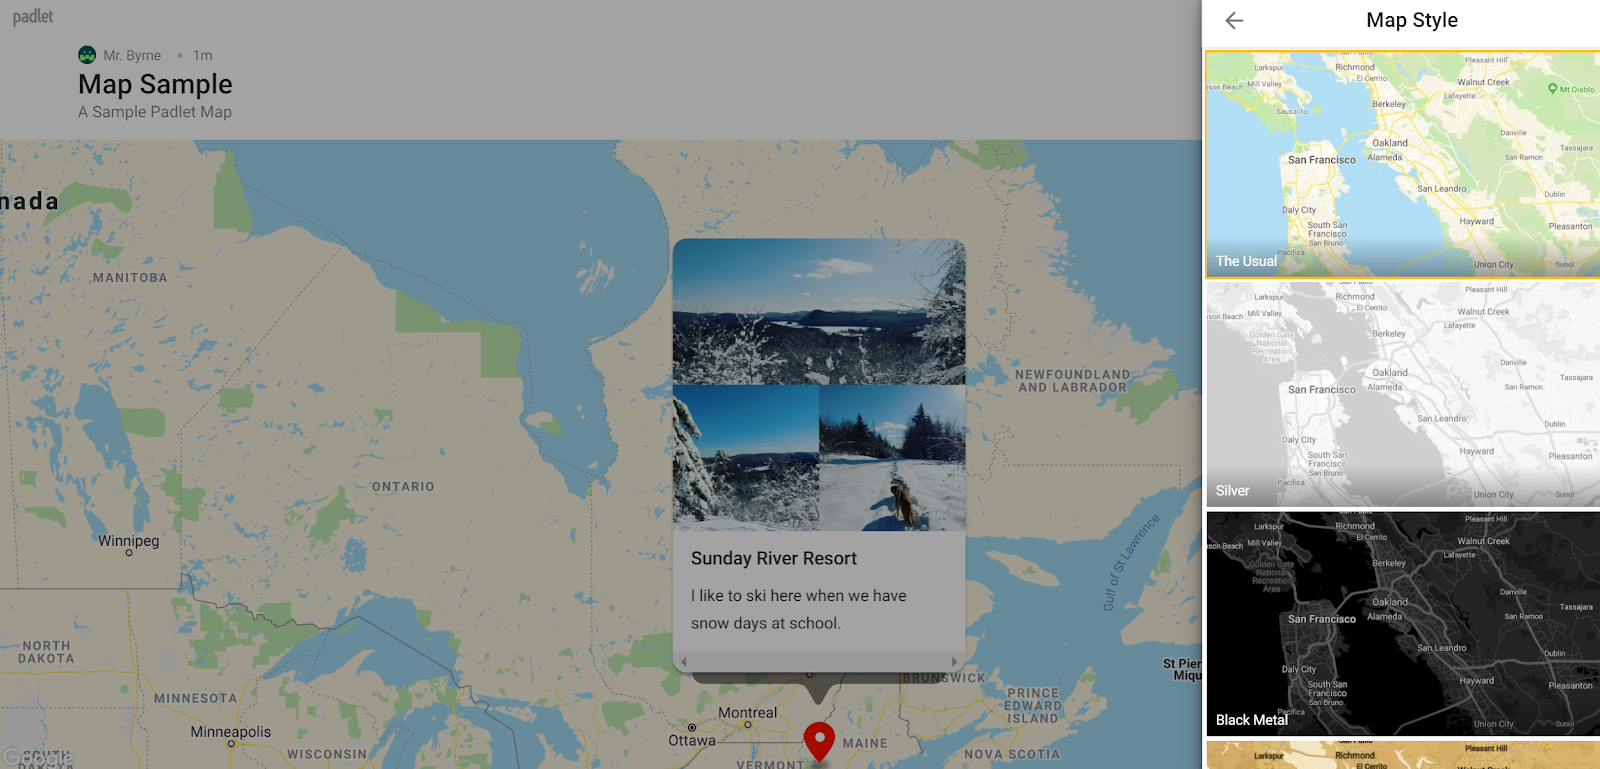
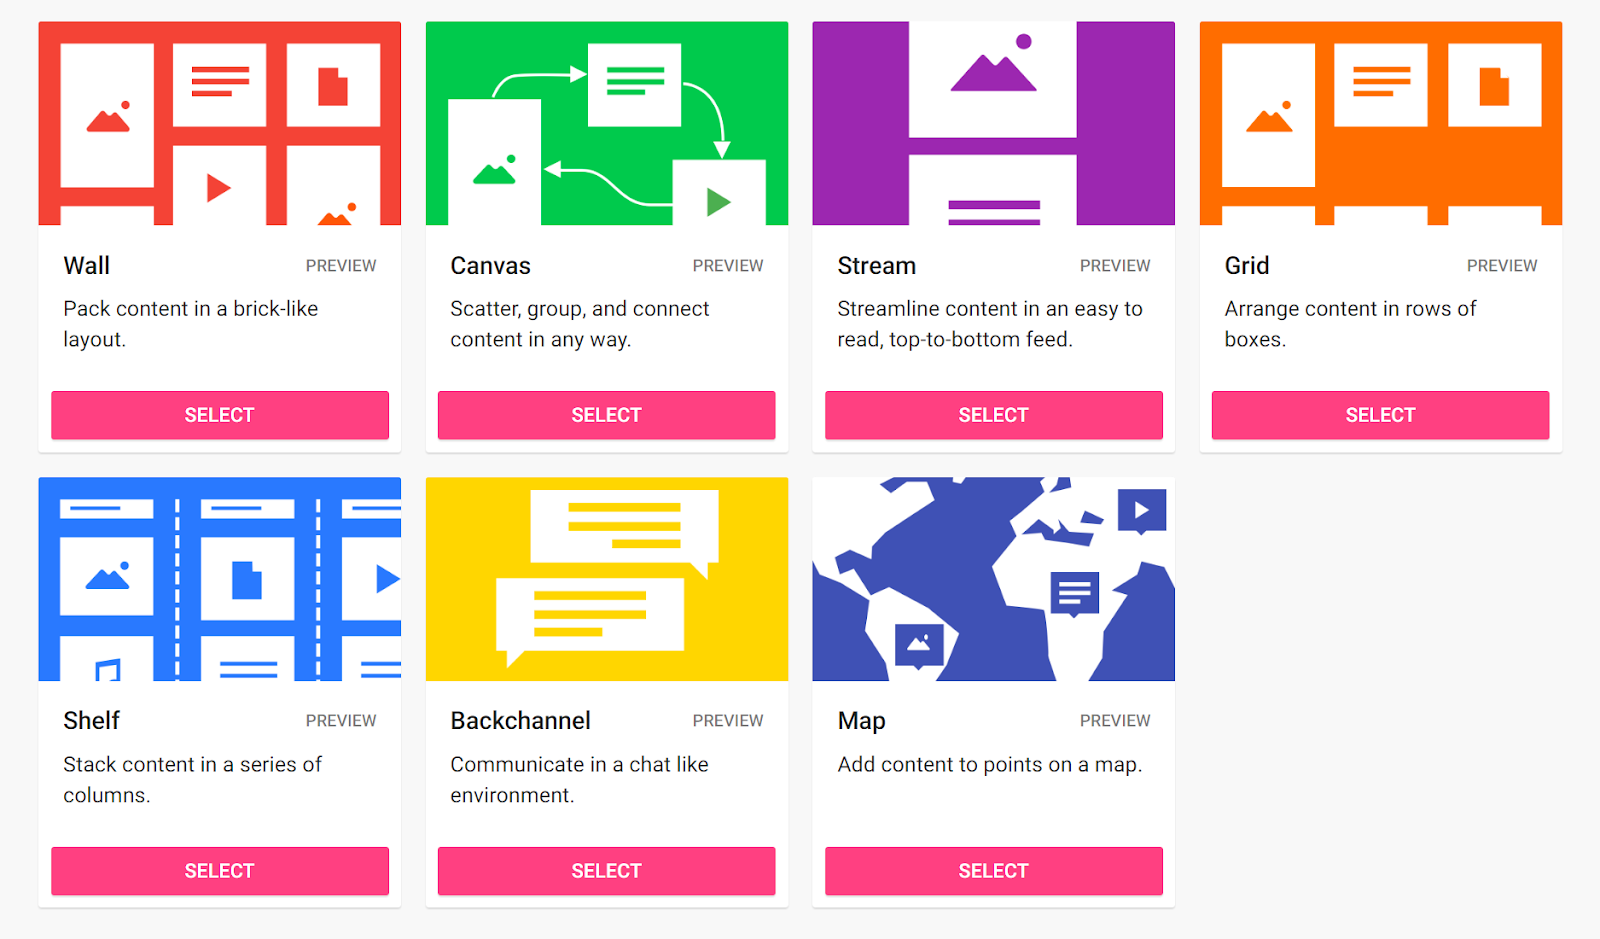
Padlet’s new mapping tool is rather easy to use. To access it simply open your Padlet account and create click “make a Padlet.” You’ll then be taken to a list of template options including the new map option. Select the map option and you’re ready to start building your custom map.
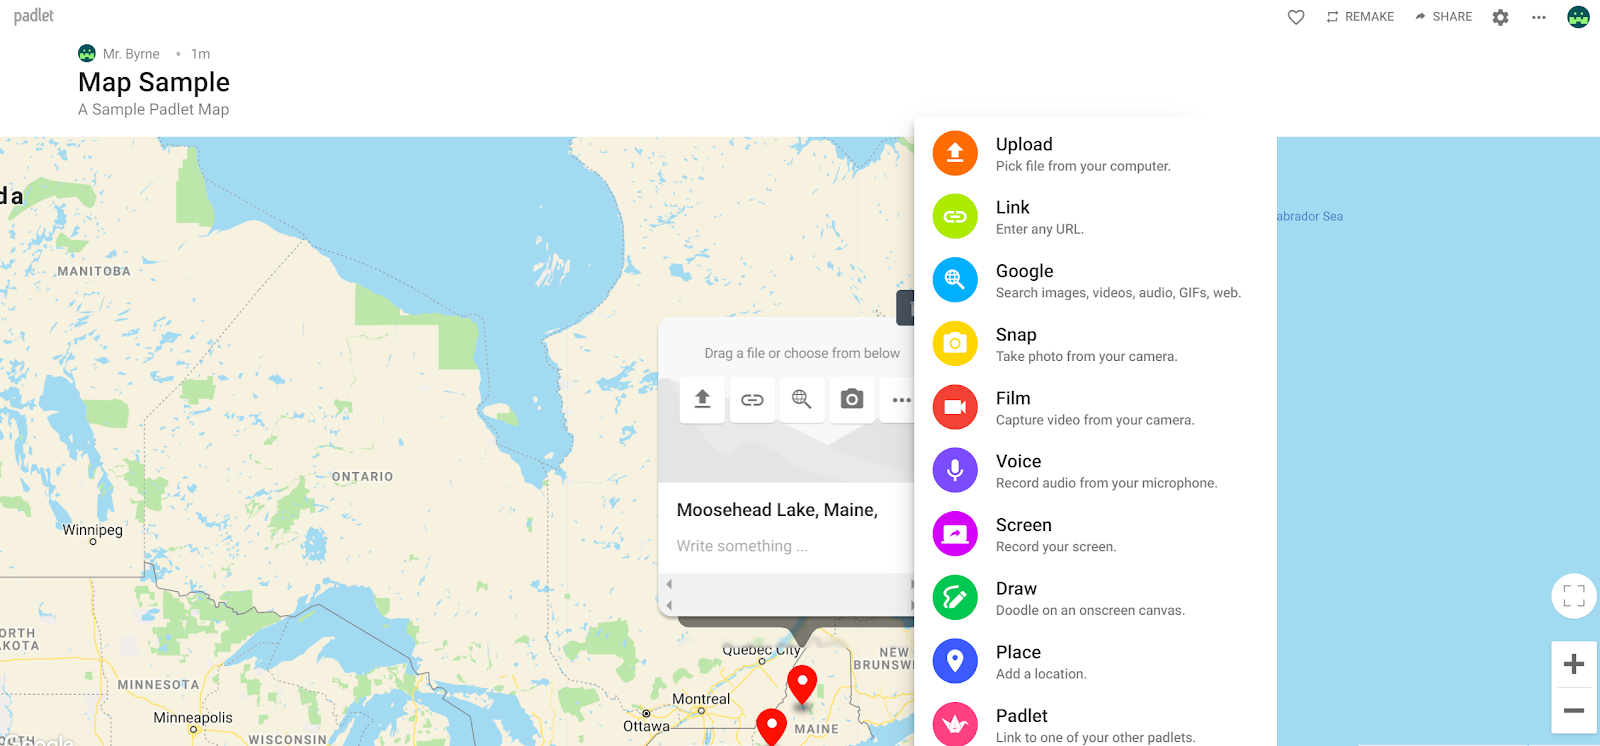
After selecting the map template you’re ready to start adding multimedia markers to your map. To add a marker you can either drag one onto the map or use the search tool to have a marker added to a specific location.

The markers that you add to your map can include all of the types of media that you can add to any other Padlet wall. That means you can add pictures, videos, text, links, audio, and even documents to the markers on your map. Padlet even has built-in tools for recording video and audio. Students could use those options to record themselves talking about the places that they’re adding to their maps.
Finally, like all other Padlet walls, the maps you choose to make in Padlet can be made collaboratively. There are a handful of ways that you can invite students to collaborate on a map. Those invitation options include sharing a public or private link, using a password-protected map, invitation via email, embedding the map into other websites, and sharing via QR code.

If you have never tried Padlet, watch my short video tutorial to learn how to get started.