One of the easier ways to get started making your own video lessons is found within a tool that some of us have been using for decades. That tool is PowerPoint.
There is a screen recorder built into the current Windows desktop version of PowerPoint. The screen recorder will capture anything that you display on your screen and will record you talking about what is displayed on your screen. You can specify how much of your screen you want to have recorded. This means that you could use the screen recorder to record yourself talking over the slides that you have in a PowerPoint presentation.
Follow these steps to create a simple video lesson in PowerPoint:
- Create your slides in PowerPoint or open an existing PowerPoint presentation.
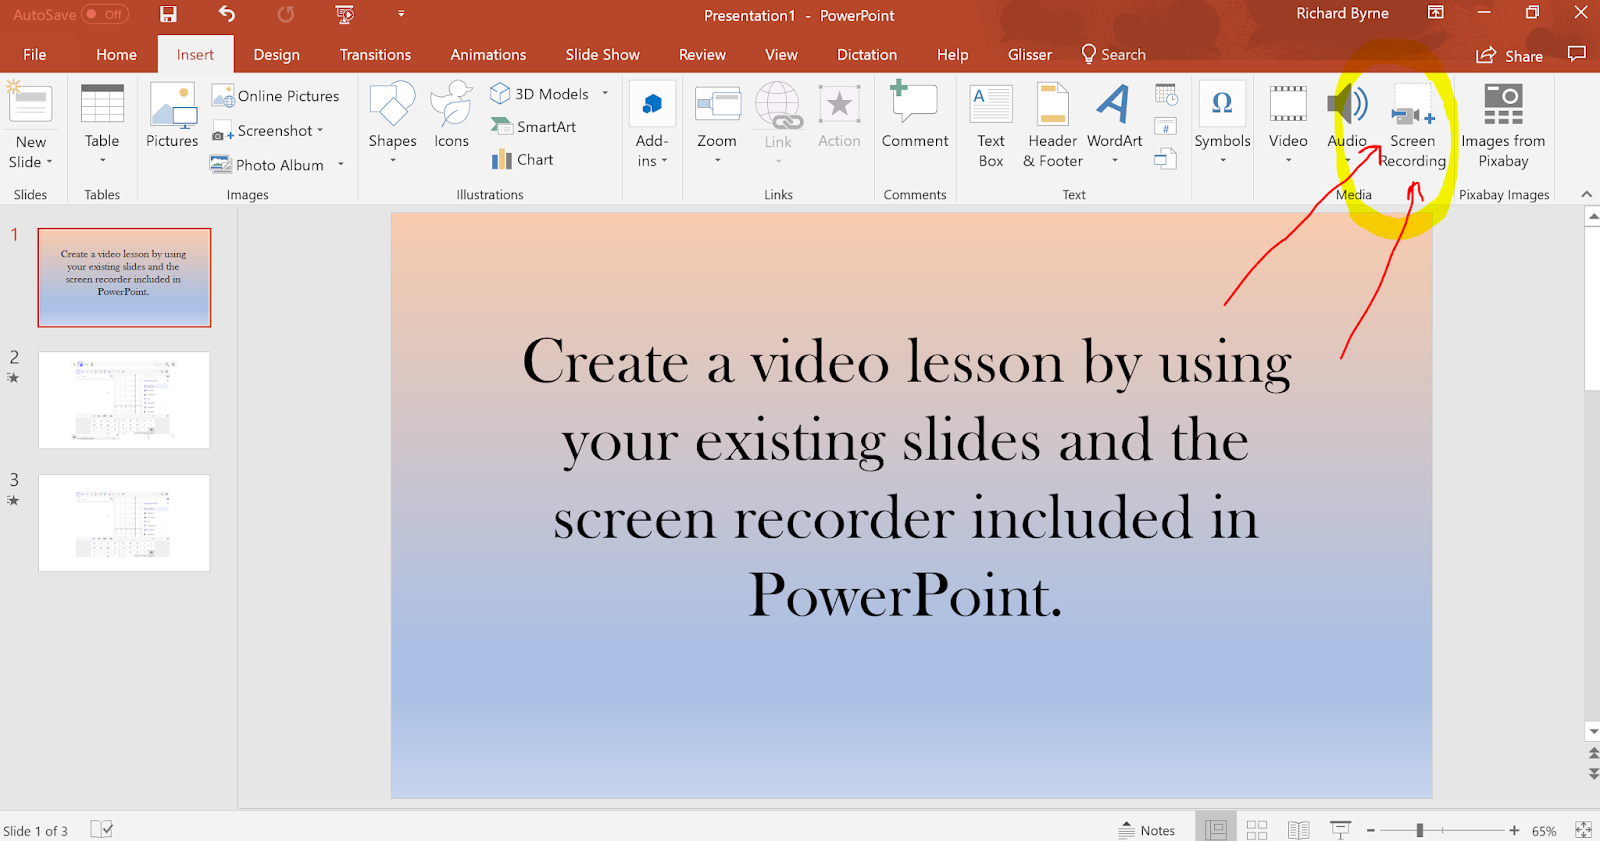
- Create a blank slide then select “screen recording” from within the “insert” menu.
- Drag and drop the “select area” tool to select the amount of screen space you want to have recorded. If you want to record your full screen, just drag the “select area” to the edge of your screen. (The select area tool launches automatically when you select “screen recording” as directed in step 2).
- Make sure that you have turned on the audio recording option and that your computer’s audio input is working.
- Click the record button. All actions on your screen will be recorded including transitions between slides.
- When you stop recording, the video will be saved in your PowerPoint presentation. When you share your PowerPoint presentation anyone who has the current version of PowerPoint will be able to view the video.
This post was updated on May 7th to reflect that these steps only work for the current Windows version of PowerPoint. It doesn’t work on PowerPoint for Mac.